

This post was originally published on this site.
Gaining proficiency in video editing allows you to transform your raw footage into engaging content. You’ll start by importing your clips into an editing program, where you’ll learn to navigate the interface and utilize fundamental tools. Comprehending how to trim unnecessary sections and craft a coherent narrative is vital. Moreover, focusing on sound quality and incorporating visual improvements can boost your videos greatly. As you progress, you’ll discover advanced techniques that can further refine your projects, but the expedition doesn’t stop there.
Key Takeaways
- Familiarize yourself with video editing software to efficiently cut and trim clips from your footage.
- Use the timeline layout for precise editing and effective organization of different media types.
- Utilize tools like the Split or Razor tool to make accurate cuts at specific points in your clips.
- Enhance audio quality by removing background noise and adjusting volume levels for a better viewer experience.
- Export your final product in MP4 format to ensure compatibility across various platforms.
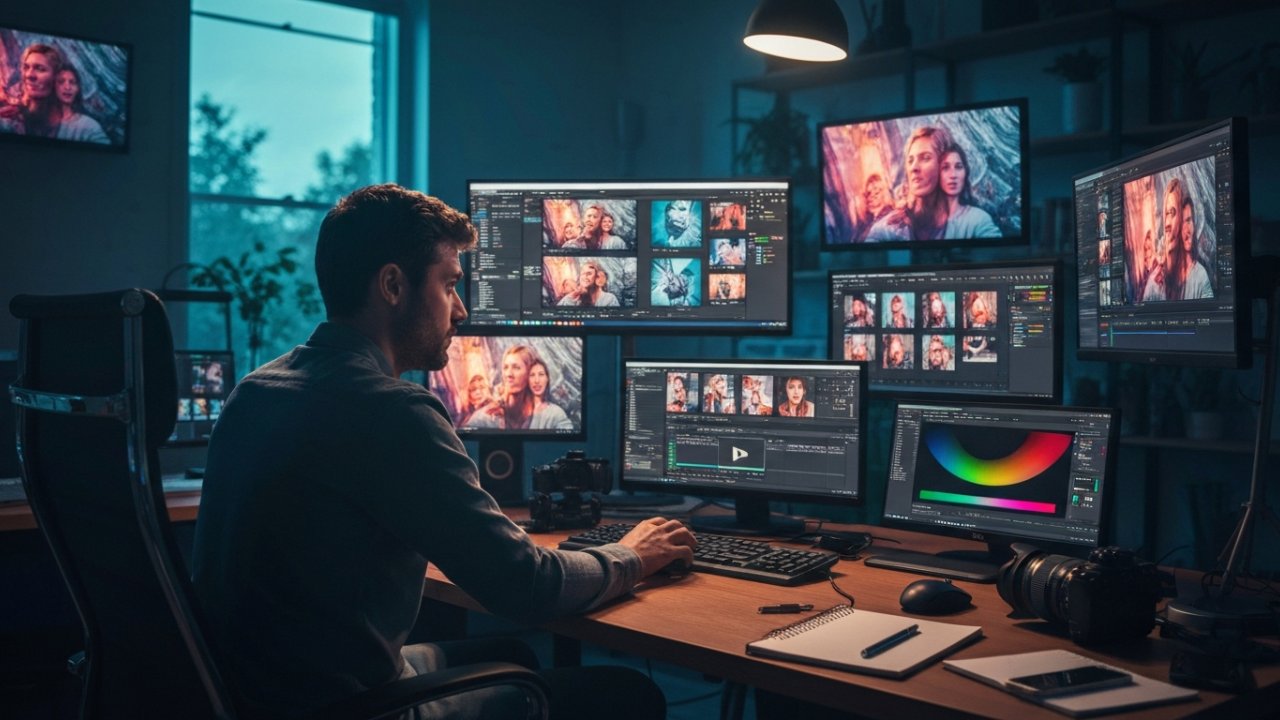
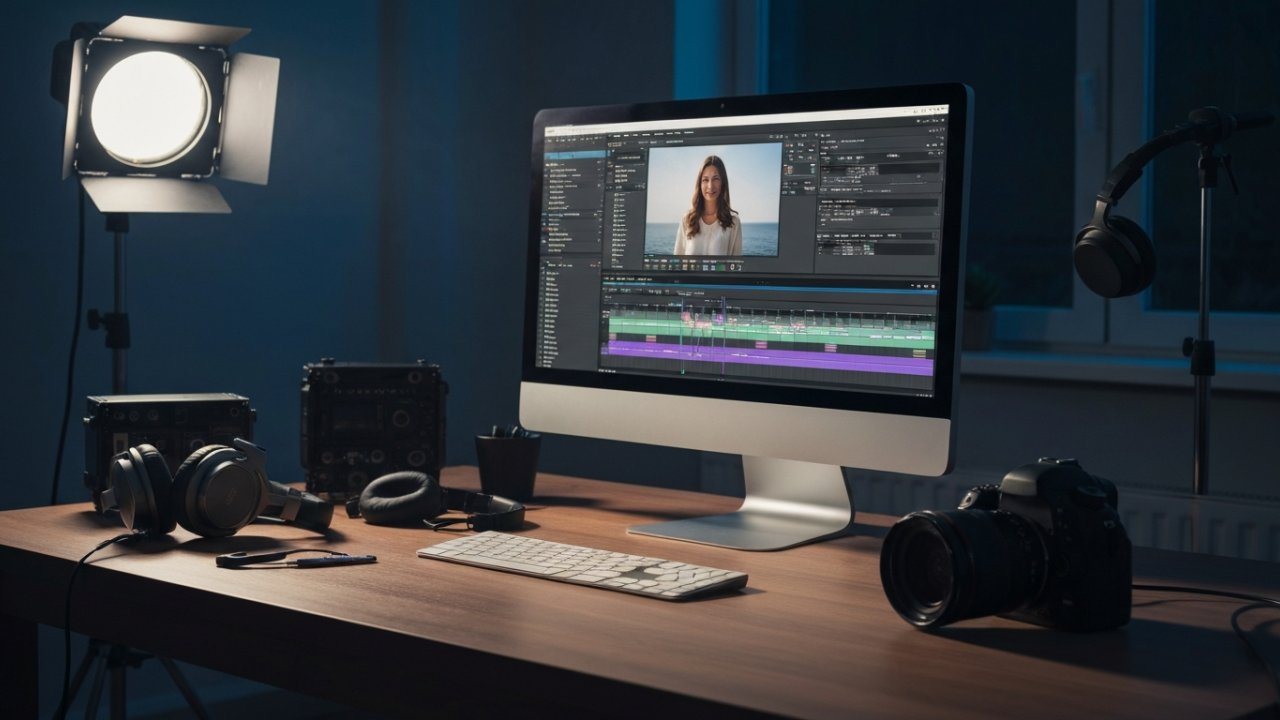
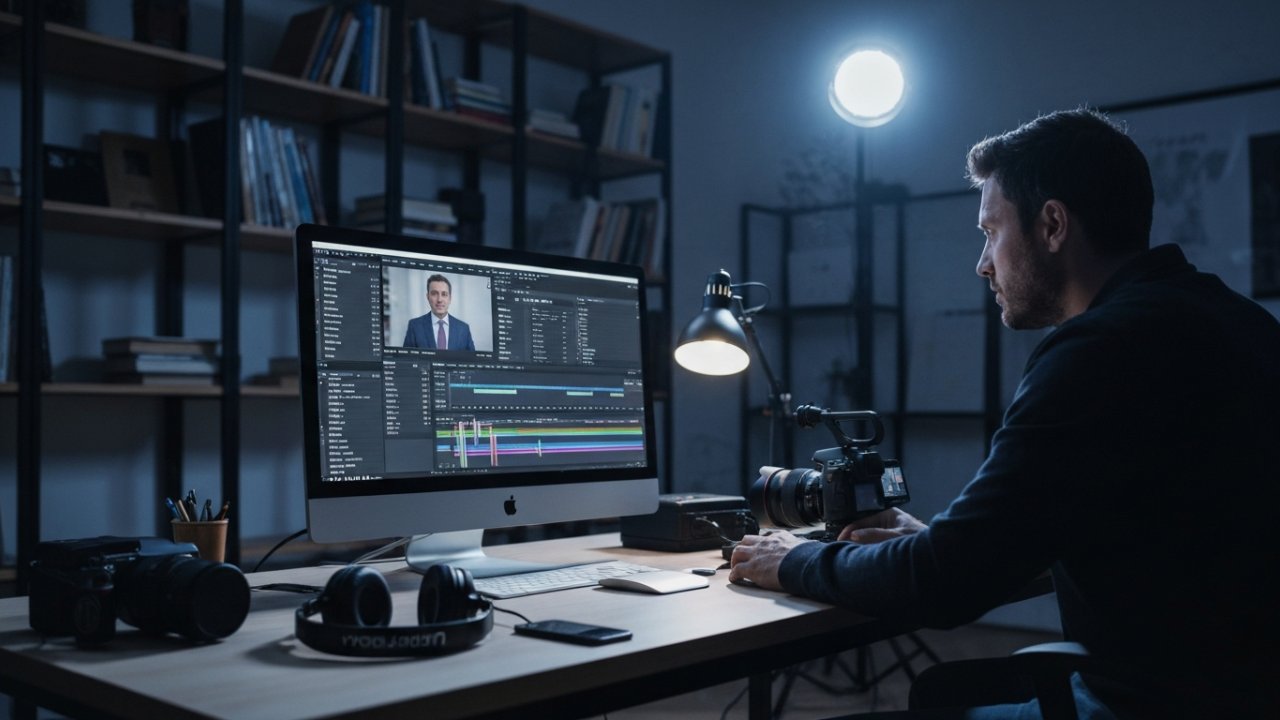
Understanding Video Editing Basics
Video editing is a vital skill that transforms raw footage into a polished final product.
To start, you need to know how to cut a clip from a YouTube video effectively. Familiarize yourself with your editing software, particularly the timeline view, to manage your clips efficiently. Trimming your YouTube video allows you to focus on the key content, ensuring a tight narrative.
You can use the best YouTube video cutter online to help with this process. After trimming, you might want to download the edited video and incorporate transitions to improve its flow.
Keep in mind that basic audio editing, like adjusting volume and removing background noise, is important for maintaining high sound quality, complementing your visuals and enhancing the overall viewer experience.
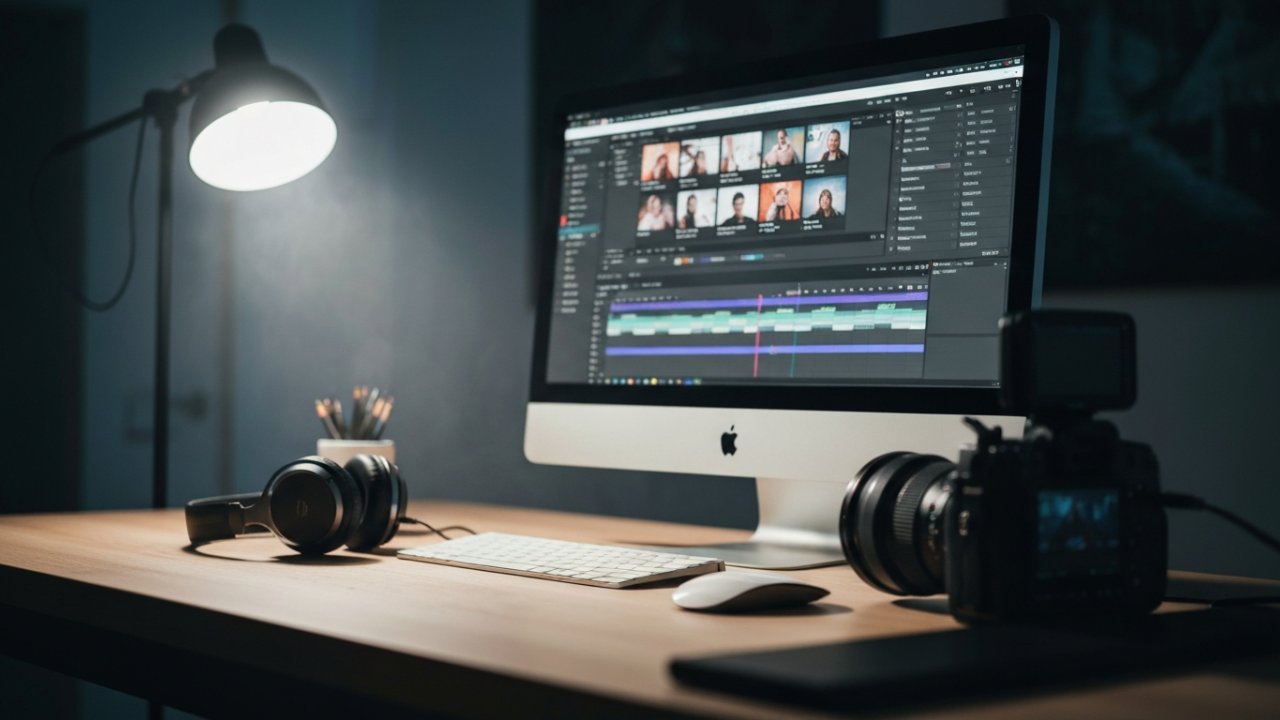
Once you’ve trimmed your clips and polished your audio, it’s time to import your footage into the editing software. Follow these steps to guarantee a smooth process:
- Open your video editing software and create a new project as your workspace.
- Locate the “Import” button, usually found in the file menu or toolbar, to add your media files.
- Confirm your video files are in a compatible format, like MP4 or MOV, to avoid issues during importing.
If you’re working with separate audio and video recordings, sync them effectively, perhaps using a loud clap as a reference.
Once you’ve finished importing your footage, organize it in the media library or timeline to streamline your workflow and make it easier to cut video online on YouTube.
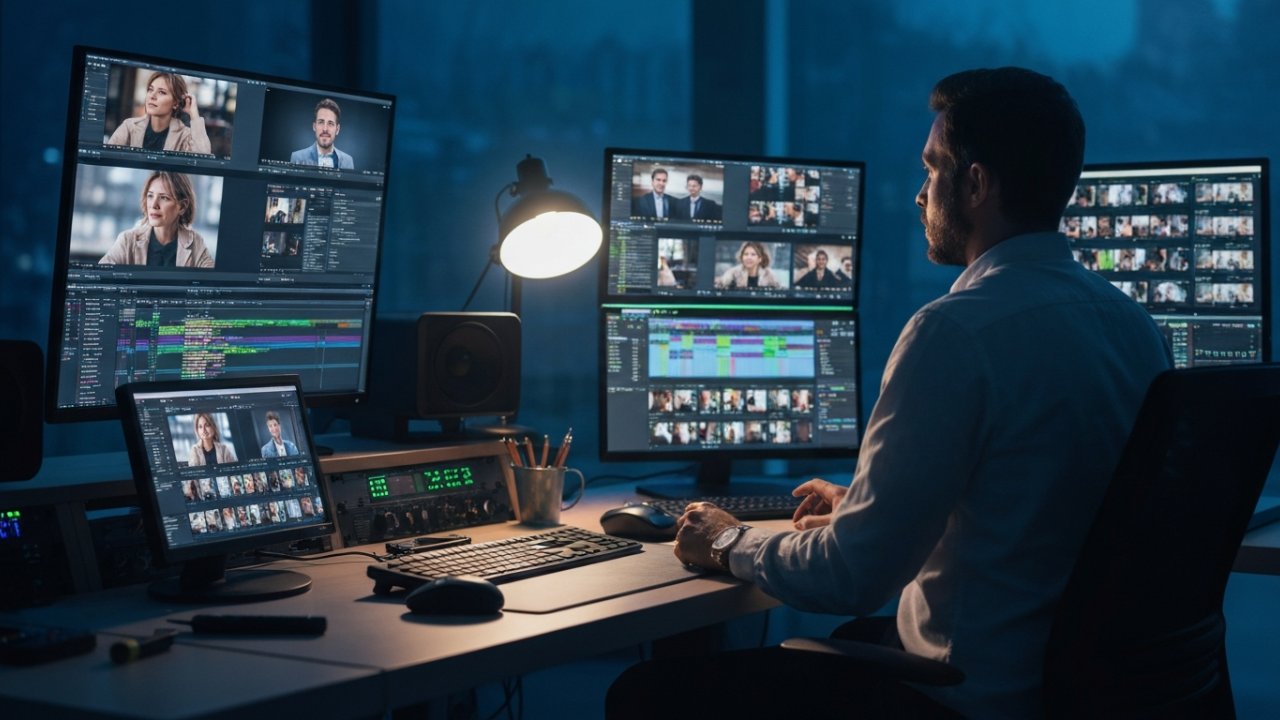
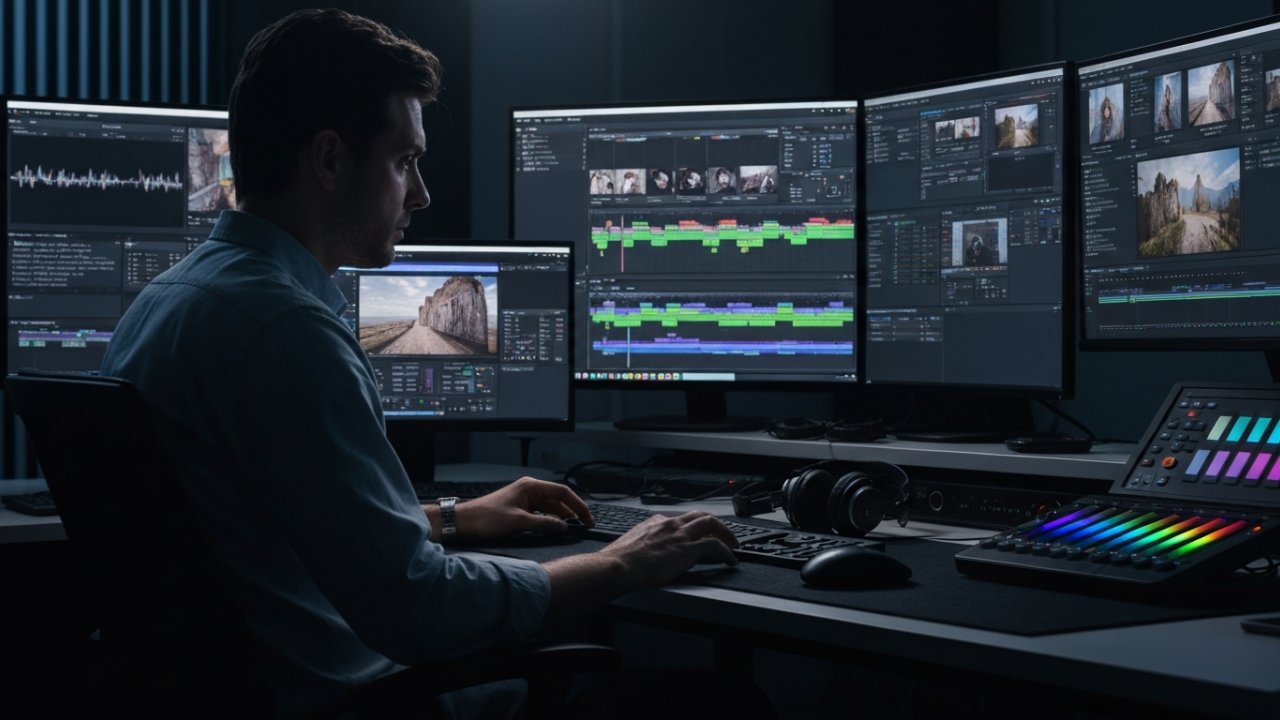
Familiarizing Yourself With the Editing Interface
To start mastering video editing, you need to understand the layout of the editing interface, particularly the timeline where you’ll arrange your clips and audio.
Familiarizing yourself with the navigation tools, like the playhead, can help you easily preview your edits and identify specific sections for adjustments.
Understanding Timeline Layout
The timeline layout in video editing software serves as the backbone of your editing process, providing a clear visual representation of your media elements. Comprehending this layout is essential for efficient editing.
Here are three key features to focus on:
- Tracks: Different media types, like video, audio, and titles, are organized into separate tracks, allowing for easier manipulation.
- Playhead Tool: This feature helps you navigate the timeline, previewing edits and determining where to trim video in Windows 10 or clip a YouTube video.
- Zooming: Familiarity with zooming in and out improves precision when making adjustments.
Navigating Editing Tools
Maneuvering the editing tools in your video editing software is necessary for achieving a polished final product. Start by familiarizing yourself with the timeline view; it’s important for arranging video and audio tracks to create a coherent narrative.
As you navigate editing tools, use the playhead to preview edits and make precise adjustments at specific points in your video. Most software includes trimming, splitting, and audio adjustment features, all critical for refining your footage.
If you’re wondering how to clip your own videos efficiently, explore text-based editing options that allow you to edit transcripts directly.
Comprehending the layout of your editing interface, including import buttons and export options, will greatly improve your editing efficiency, especially when you want to download a portion of a YouTube video.
Trimming and Cutting Unnecessary Clips
Effective video editing hinges on your ability to trim and cut unnecessary clips, which can greatly improve the overall quality of your project. Here’s how to get started:
- Trim Edges: Shorten clips by dragging their edges to remove excess footage, ensuring only relevant content remains.
- Use the Split Tool: The “Split” or “Razor” tool lets you cut clips at specific points, allowing precise edits to eliminate unwanted sections.
- Navigate with the Playhead: Utilize the playhead tool to identify where cuts should be made, ensuring a seamless flow.
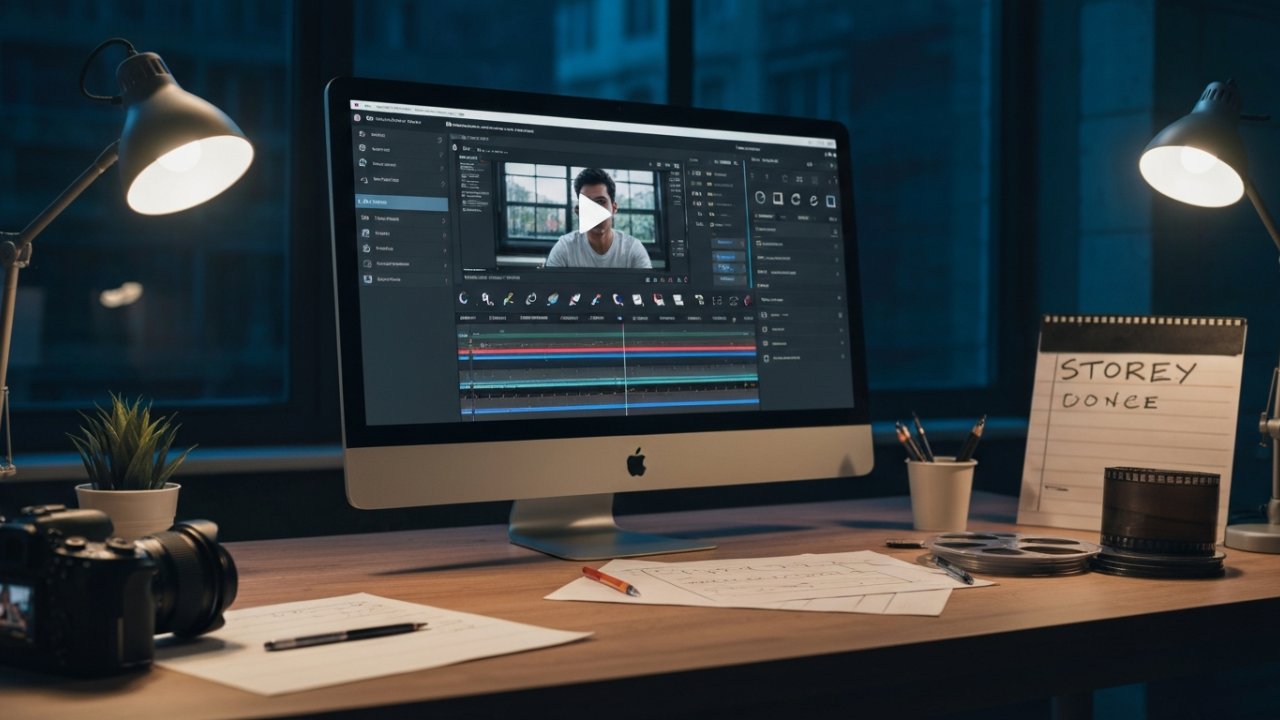
Crafting Your Narrative With Cuts and Transitions
When you craft your narrative with cuts and shifts, you have the ability to shape how your story unfolds.
Using effective cuts like jump cuts and L-cuts can maintain viewer engagement, whereas transitions such as fades and dissolves help bridge scenes smoothly.
Incorporating B-roll footage not just enriches your primary narrative but additionally improves visual interest, allowing for a more cohesive storytelling experience.
Types of Cuts
Cuts are vital tools in video editing, and comprehending their various types can greatly improve your storytelling. Here are three common cuts you should know:
- Jump Cuts: These remove sections of time, creating a fast-paced narrative ideal for vlogs or tutorials. It’s a fundamental technique when learning how to cut YouTube videos.
- L-Cuts: By allowing audio from the previous shot to continue into the next visual, L-cuts boost emotional connections and smooth shifts.
- J-Cuts: Conversely, J-cuts introduce audio from the upcoming scene before the visuals appear, preparing your audience for the next moment.
Understanding how to clip a part of a YouTube video using these cuts can greatly improve how to make a video clip from a YouTube video, keeping viewers engaged.
Effective Transitions
Building on the grasp of various cuts, incorporating smooth shifts between scenes can greatly improve your video’s narrative flow. Effective transitions, like jump cuts, L-cuts, and J-cuts, keep your viewers engaged without unnecessary interruptions.
When considering how can I cut a YouTube video, keep in mind using techniques such as match cuts maintains thematic continuity and strengthens your visual story. Furthermore, fades or dissolves smooth out cuts between different scenes, giving your video a polished look.
[embedded content]
Controlling pacing through these transitions helps dictate your narrative’s rhythm, ensuring your audience stays invested. Finally, knowing how to share part of a YouTube video effectively can highlight your best transitions, enhancing the overall viewer experience.
Utilizing B-Roll
Utilizing B-roll is a potent technique in video editing that can greatly improve your storytelling. By enhancing context and visual interest, you can create a more engaging narrative.
Here are three key ways to effectively use B-roll:
- Maintain Engagement: Use jump cuts, L-cuts, and J-cuts to vary pacing and highlight important moments.
- Create Smooth Transitions: Match cuts can link similar visuals, reinforcing themes and ensuring continuity.
- Cover Mistakes: Strategically place B-roll to mask cuts or errors in your A-roll footage, elevating your video’s professionalism.
When you download parts of a YouTube video or learn how to share YouTube videos, remember to choose B-roll that complements your main content without distracting from it.
Enhancing Audio Quality and Adding Sound Effects
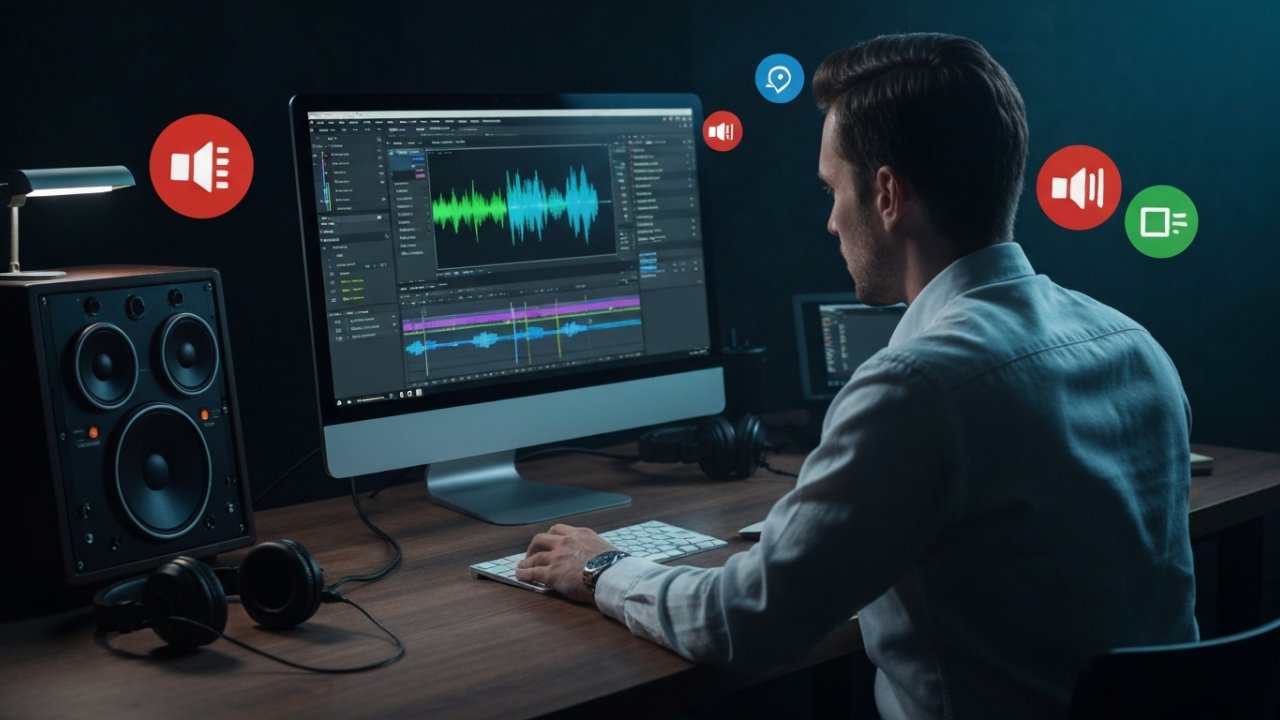
Improving audio quality and adding sound effects are crucial steps in video editing that can greatly improve the viewer’s experience.
Start by prioritizing sound quality; use automated background noise removers and adjust volume levels to guarantee dialogue clarity. Create separate audio tracks for dialogue, music, and sound effects, allowing precise control over each element.
Incorporate sound effects strategically to align with visuals and improve storytelling, contributing to the overall mood. Fill silent gaps with room tone to maintain audio continuity, avoiding awkward pauses except when silence serves a dramatic purpose.
Always check copyright laws when using music or sound effects, and consider royalty-free libraries to prevent legal issues and raise your video’s production quality.
Customizing Visuals With Text and Overlays

Customizing visuals with text and overlays is essential for enhancing your video’s impact.
By using text animation techniques, you can highlight important messages, whereas creative overlays add a professional touch that reinforces your brand.
Adjusting fonts and colors not just improves readability but additionally guarantees your visuals align with your overall aesthetic, creating a cohesive viewing experience.
Text Animation Techniques
Text animations play a crucial role in video editing, as they not merely grab viewers’ attention but furthermore help communicate key messages effectively.
Implementing text animations can greatly improve your video’s engagement. Here are three techniques to reflect on:
- Animation Styles: Use fades, slides, or bounces to create a dynamic visual rhythm that complements your video pacing.
- Customization: Adjust fonts, colors, and sizes to align with your brand identity or thematic elements for consistency throughout your content.
- Keyframing: Utilize advanced editing tools to control text movement and timing precisely, resulting in polished and professional-looking animations.
Adding Creative Overlays
Engaging visuals can greatly improve your video content, and adding creative overlays is an effective way to accomplish this. Overlays can include text, images, or animations that enrich your storytelling. You should utilize text animations to emphasize key points, which boosts viewer retention. Experiment with styles like semi-transparent backgrounds for text to guarantee readability during showcasing the video beneath. Incorporating your brand logo as an overlay strengthens brand identity and recognition. Remember, the timing and positioning of overlays are vital; they should not obstruct important visuals.
| Overlay Type | Purpose |
|---|---|
| Text Animation | Highlight key points |
| Semi-Transparent | Maintain readability |
| Brand Logo | Strengthen brand identity |
| Strategic Timing | Improve narrative flow |
Customizing Fonts and Colors
When you’re looking to improve your videos, selecting the right fonts and colors can make a significant difference in how your content is perceived. Here are three key points to contemplate:
- Choose Appropriate Fonts: Select typefaces that match your video’s theme and tone, ensuring they’re readable and visually appealing.
- Utilize Size and Weight: Adjust text size and weight to emphasize key messages, creating a visual hierarchy that effectively guides viewers’ attention.
- Color Customization: Align text and overlay colors with your brand’s palette for consistency, and use contrasting colors against backgrounds to boost visibility.
Incorporating animated text effects can additionally add dynamism, making overlays more engaging and visually interesting for your audience.
Focus on these aspects to raise your video editing skills.

Utilizing stock footage and music libraries can greatly improve your video projects, especially as time and resources are limited.
Stock footage libraries provide a vast collection of high-quality video clips that enrich storytelling without the need for original filming, saving you both time and resources.
Music libraries grant access to a rich selection of royalty-free tracks and sound effects, elevating the emotional impact of your videos as well as ensuring copyright compliance.
Many platforms allow easy integration with video editing software, enabling seamless incorporation of assets into your projects.
By using beat sync features, you can match stock footage with background music, creating a cohesive viewing experience.
In the end, leveraging these resources considerably speeds up your production timeline, letting you focus on narrative and editing techniques.
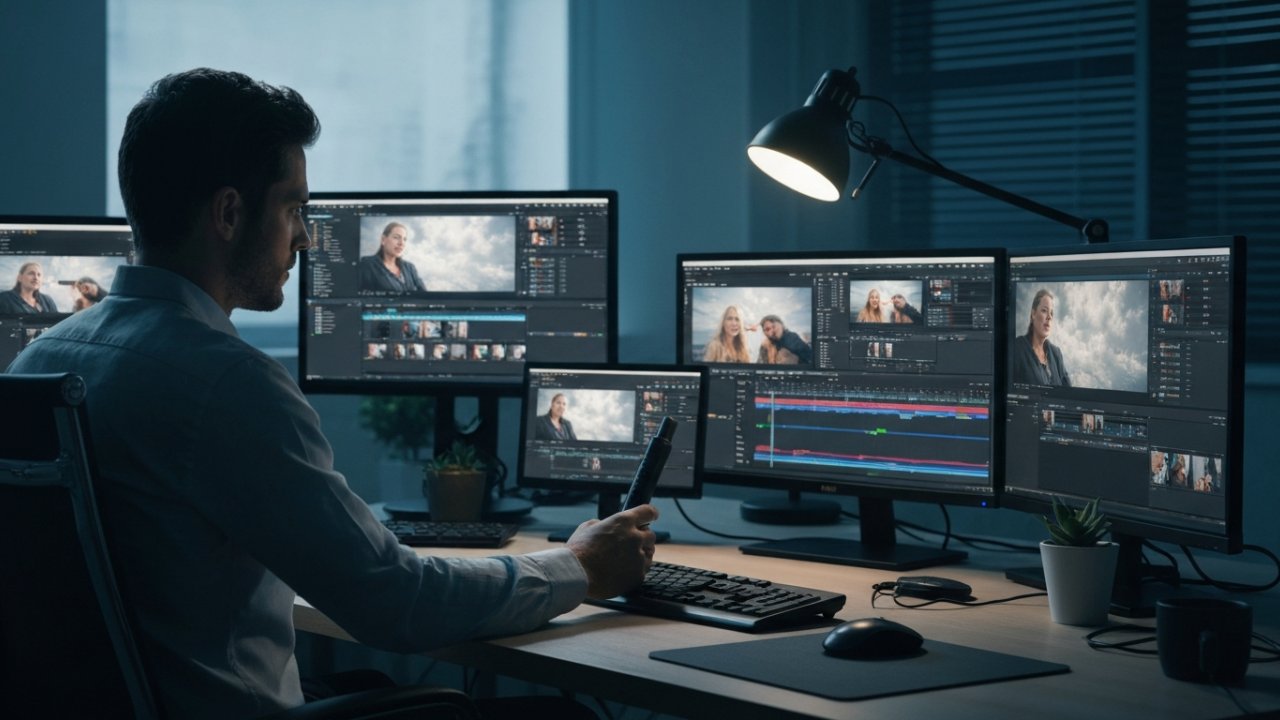
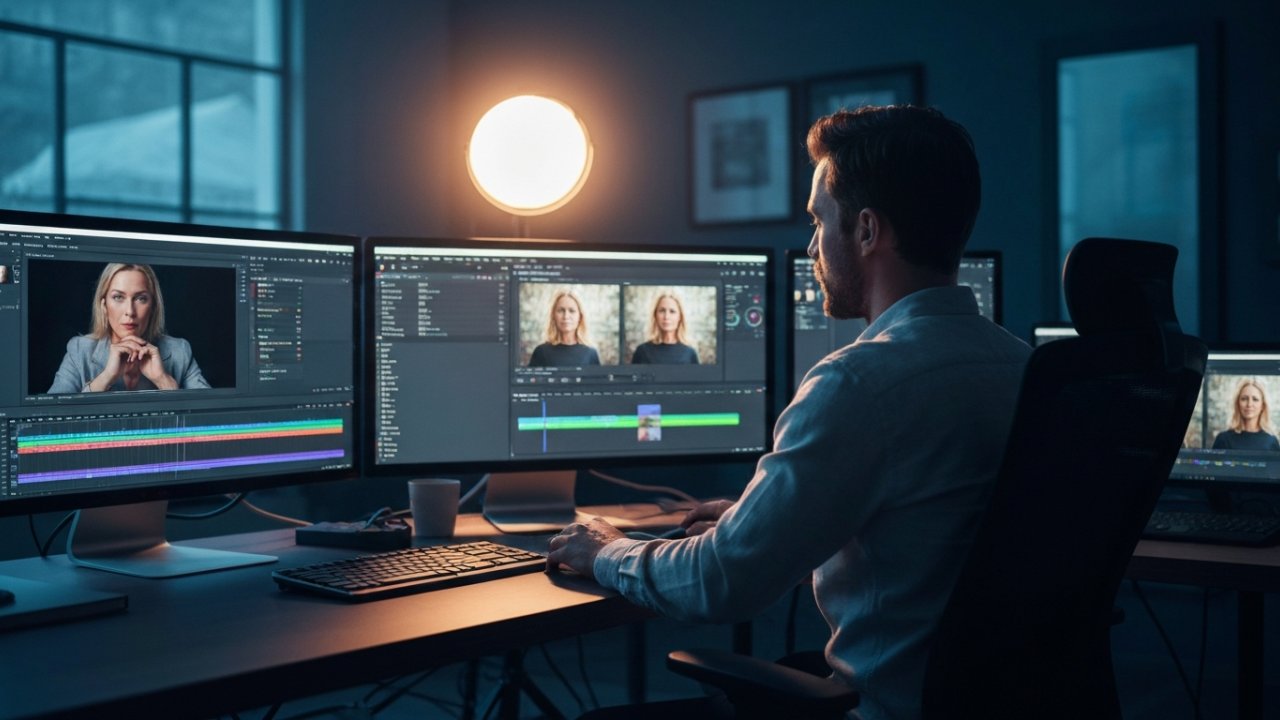
Reviewing and Fine-Tuning Your Edits
To guarantee your video edits are polished and effective, it’s essential to thoroughly review your work from start to finish. This process confirms the pacing and flow align with your intended narrative and emotional impact.
Here are three key steps to follow:
- Utilize the timeline view: Make precise adjustments by trimming and splitting clips to refine your content.
- Edit audio levels: Balance sound levels, remove background noise, and make sure dialogue is clear throughout the video.
- Incorporate feedback: Use comment features in your editing software to gather real-time suggestions from peers or collaborators.
Lastly, remember to regularly save and back up your project files to avoid losing progress and to return to earlier edits if needed.
Exporting Your Final Project
When exporting your final project, it’s essential to choose the right export settings and file format.
MP4 is often the best option because of its compatibility across various platforms and devices.
Furthermore, adjusting the resolution and frame rate will guarantee your video maintains its quality and visual appeal.
Choosing Export Settings
Choosing the right export settings for your final project is crucial, as it can greatly impact the quality and compatibility of your video. Here are three key aspects to focus on:
- Video Format: Select an appropriate format, like MP4 for online platforms, to guarantee compatibility.
- Resolution & Bitrate: Set your resolution based on the platform—1080p is standard for high-quality videos. Use a bitrate of 8-12 Mbps for 1080p to balance quality and file size.
- Aspect Ratio & Audio: Adjust the aspect ratio to fit your target platform, like 16:9 for YouTube. For audio, use AAC format with a sample rate of 44.1 kHz or 48 kHz to maintain sound quality.
File Format Options
Selecting the right file format for your final video project is vital for ensuring compatibility and quality across various platforms. Common formats like .MP4, .MOV, .AVI, and .WMV are ideal for playback.
When exporting, consider the video resolution—1080p (1920×1080) is recommended for YouTube. The aspect ratio matters as well; use 16:9 for YouTube and 9:16 for platforms like Instagram Reels. Furthermore, choose a suitable bitrate; around 8,000 kbps is typically sufficient for high-quality videos.
Finally, don’t overlook audio formats. MP3, WAV, and AAC are popular, ensuring your sound quality aligns with the visuals. Here’s a quick reference table for formats and their uses:
[embedded content]
| Format | Use Case |
|---|---|
| .MP4 | Universal playback |
| .MOV | High-quality videos |
| .AVI | Larger file sizes |
To effectively capture your audience’s attention on social media, it’s vital to tailor your video content to each platform’s unique requirements.
Here are some important tips to improve your edits:
- Aspect Ratios: Use specific ratios like 1:1 for Instagram and 9:16 for TikTok to maximize engagement.
- Conciseness: Keep videos between 30 seconds and 2 minutes, as shorter clips typically perform better, improving retention rates.
- Accessibility: Add captions and subtitles since up to 85% of videos are watched without sound, boosting overall engagement.
Advanced Editing Techniques to Elevate Your Content
Whereas optimizing your videos for social media is key to engaging your audience, progressing your editing skills can take your content to the next level. Start by utilizing keyframing for precise control over animations and shifts, allowing for dynamic storytelling. Experiment with transition styles like cross dissolves and whip pans to improve pacing. Incorporating sound design elements, such as ambient sounds and music, deepens viewer engagement. Employ advanced color correction techniques to create a cohesive visual aesthetic, evoking specific emotional responses. Finally, leverage AI-powered editing tools to automate repetitive tasks and enhance video quality.
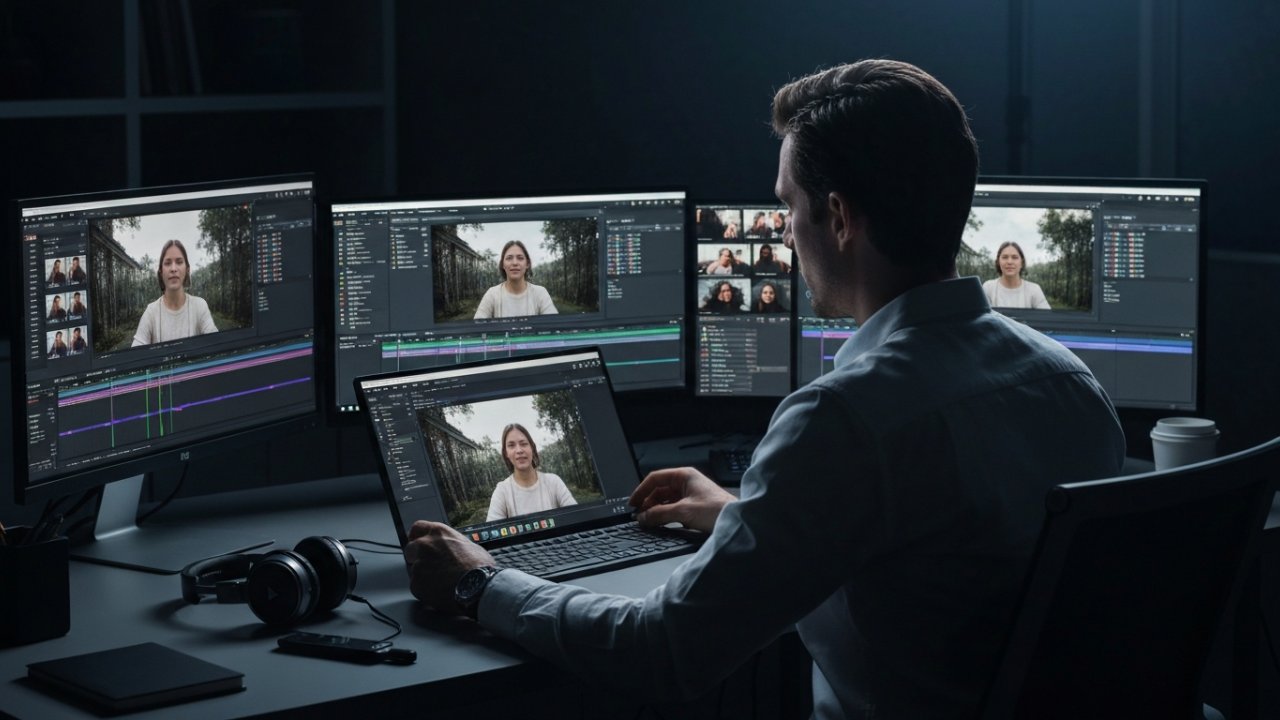
Collaborating With Others on Video Projects
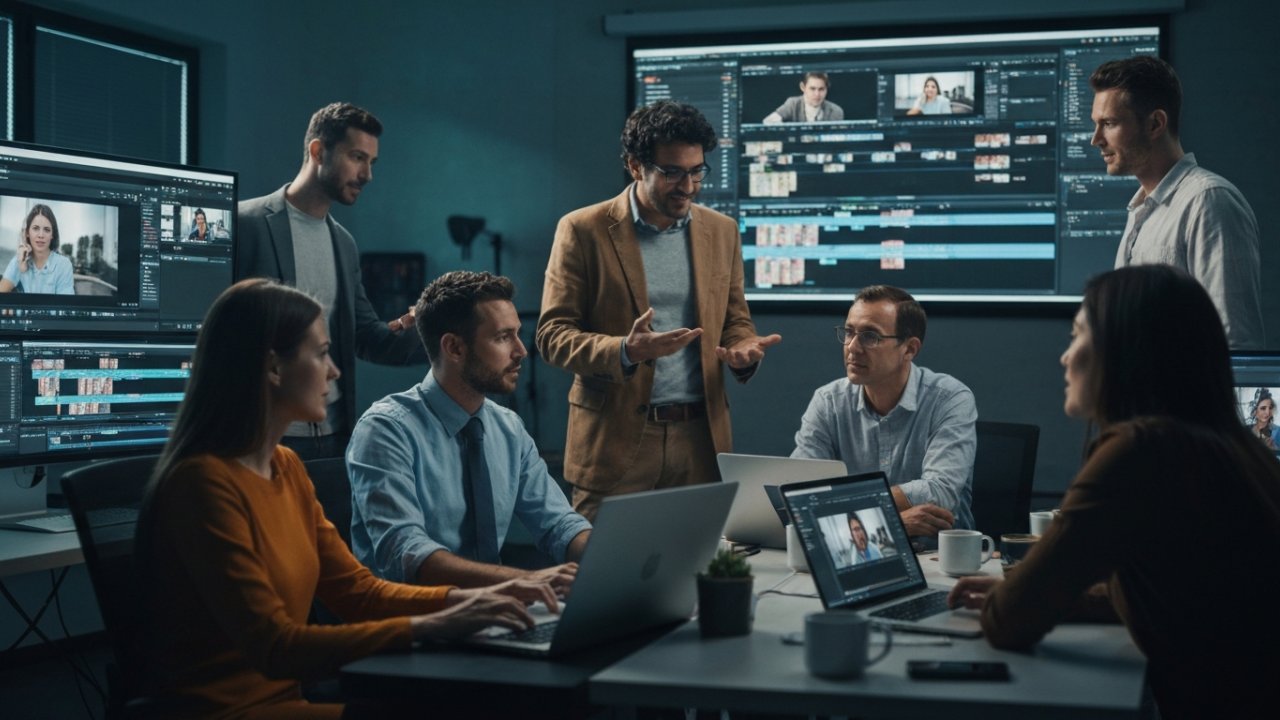
Collaborating on video projects can greatly improve both the creative process and the final product. By working together, you can boost efficiency and produce higher-quality work.
Here are three key benefits of collaboration:
- Real-time collaboration: Multiple users can work simultaneously across devices, streamlining the editing process.
- Clear communication: Commenting and task assignment features in editing software help maintain effective feedback and organization among team members.
- Cloud storage: Easy access to files allows collaborators to share resources without compatibility issues, ensuring everyone stays on the same page.
Additionally, in-app recording features let you capture video content instantly, whereas multi-user editing tools help keep projects organized by letting team members manage specific sections without interrupting others’ work.
How can you guarantee your video editing skills stay relevant in an ever-changing environment?
First, embrace technology; in 2023, about 75% of video marketers use AI tools to streamline their editing processes.
Stay informed about popular mobile apps like InShot and CapCut for quick edits and use Adobe Premiere Pro or Final Cut Pro for more complex tasks.
Keep an eye on social media trends, especially TikTok, which favors short, dynamic content with fast-paced editing.
As video quality expectations rise, consider using stabilizers and external microphones for a professional touch.
Finally, stay updated on platform-specific requirements, such as preferred video formats like MP4 and ideal resolutions, ensuring your content engages effectively across various channels.
Frequently Asked Questions
How Do You Clip Your Own Videos?
To clip your own videos, start by importing your footage into a compatible video editing software like Premiere Pro or iMovie.
Use the trimming tool to remove unwanted sections by dragging the edges of your clips. Organize your clips on the timeline for a coherent flow, and split them using the “Split” or “Razor” tool at specific points.
Finally, export your edited video in MP4 format, making it ready for sharing on social media or other platforms.
What Is the 80 20 Rule in Video Editing?
The 80/20 Rule in video editing, or Pareto Principle, states that 80% of a video’s impact comes from just 20% of its content.
This means you should focus on the most compelling footage that drives engagement. By identifying key moments, you can streamline your editing process, ensuring a tighter narrative.
Cutting unnecessary material improves storytelling and keeps viewers interested, proving that prioritizing quality over quantity leads to a more impactful final product.
What Are 321 Rules of Video Editing?
The 321 rule of video editing emphasizes keeping three copies of your footage on two different storage devices, ensuring one is off-site.
This method protects against data loss from hardware failures or accidental deletions. By implementing the 321 rule, you’ll reduce anxiety during editing, knowing your data is secure.
Multiple backups likewise provide flexibility, allowing access to different versions or elements of your project, thereby enhancing your editing process considerably.
[embedded content]
How Many Hours to Master Video Editing?
To master video editing, you’ll typically need between 100 to 200 hours of dedicated practice to build a solid foundation.
During experts suggest around 10,000 hours for true mastery, you can make significant progress in less time.
As a beginner, expect to invest about 20 to 40 hours learning basic skills.
Regularly working on projects and using online resources can accelerate your learning, making around 10-15 hours per week a productive schedule for improvement.
Conclusion
Becoming proficient in video editing allows you to transform your raw footage into engaging content effectively. By grasping the basics, utilizing editing tools, and implementing advanced techniques, you can improve your videos considerably. Remember to prioritize sound quality and organize your media for a smoother workflow. Stay informed about trends and collaborate with others to further develop your skills. With practice, you’ll create polished videos that resonate well with your audience and raise your content’s impact.
Image via Google Gemini


